Most modern homes are equipped with heavy insulating materials confined in small spaces designed to resist and block thermal conductivity. However, one drawback of insulation is that improper installation can result in moisture buildup and lead to several negative consequences.
One way to mitigate these issues (besides working with a professional) is to install a vapor barrier alongside your insulation to prevent moisture from passing through.
Not only do vapor barriers (also known as vapor retarders) protect the surrounding wall cavity from moisture intrusion, but also the insulating material itself.
This guide will discuss the benefits of vapor barriers with insulation and how to equip your home with them properly.
What is a Vapor Barrier?
A vapor barrier is typically a thin plastic or foil sheet designed to resist vapor diffusion from warm, humid parts of the home to dry parts.
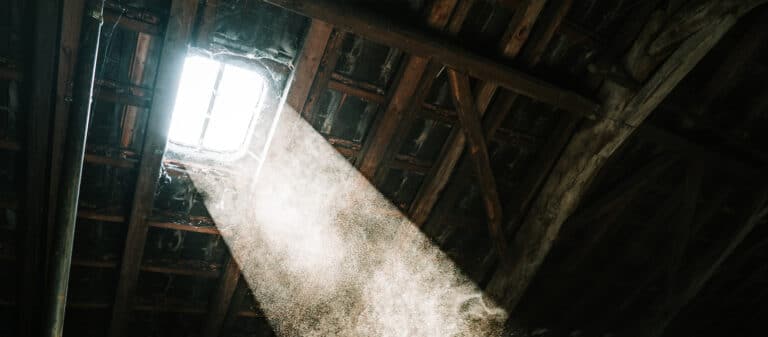
Water vapor is the gaseous state of water that tends to travel upwards through heat dispersion. Once it reaches other parts of the home–typically attics, ceilings, and crawl spaces–it evaporates, allowing water to collect on dry surfaces and slowly rot them out.
If not controlled, this excessive water vapor buildup can lead to mold, water damage, and other structural issues.
Vapor barriers are typically placed inside all framed wall cavities and ceilings to prevent water vapor from traveling throughout the home.
Note: Pennsylvania requires all homes to install vapor barriers on the internal side of a frame wall.

Why Use Vapor Barriers with Insulation?
When installing new insulation or maintaining existing insulation, vapor barriers are your best friend.
1. Preventing Moisture Damage
Vapor barriers prevent moisture buildup to protect insulation and prevent moisture buildup from insulation.
When insulation becomes damp, it can degrade and mold, leading to reduced energy efficiency and other health problems.
While spray foam and other forms of insulation are designed to resist moisture, improper installation can actually trap moisture inside wall cavities and other tight spaces, making the surrounding wood rot and become rife with mold.
Vapor barriers provide an extra layer of protection against potential vapor dispersion and condensation.
2. Improving Energy Efficiency
Moisture can significantly impact the thermal performance of insulation. A vapor barrier helps keep the insulation dry, allowing it to maintain its insulating properties. This leads to better temperature regulation within your home, reducing the need for heating and cooling and ultimately lowering energy bills.
3. Enhancing Indoor Air Quality
Moisture accumulation can lead to mold and mildew, which can cause allergy-like symptoms and worsen asthma. By installing a vapor barrier, you help prevent moisture buildup, thereby reducing the risk of mold growth and improving the overall air quality in your home.
Types of Vapor Barriers
Several types of vapor barriers are available that provide their own range of efficacy and cost. Thankfully, vapor barriers are a fairly inexpensive addition to any DIY or professional home insulation project.
1. Plastic Sheeting
Plastic sheeting is one of the most ubiquitous materials used in residential construction. It is typically made of polyethylene and is available in various thicknesses. Plastic sheeting is easy to install and provides a reliable barrier against moisture.
- Thickness: Common thicknesses range from 6 to 10 mils.
- Installation: Usually installed on the warm side of the insulation (toward the interior of the home).
2. Foil Barriers
Foil barriers are another popular choice, especially in areas with extreme temperatures or humidity. While not as common in the northeast, these barriers provide superior resistance against vapor dispersion.
- Reflective Properties: Foil barriers reflect heat and can help in managing both heat loss and gain.
- Installation: Typically installed on the exterior side of insulation in walls and ceilings.
3. Kraft Paper
In some instances, kraft paper is used with fiberglass batt insulation to act as a vapor barrier–though it’s not as effective or long-lasting.
- Cost-Effective: Generally less expensive than plastic sheeting and foil barriers.
- Installation: Integrated into the insulation material and installed in walls and ceilings.
How to Install a Vapor Barrier
In most instances, a vapor barrier will need to be installed behind an existing wall. However, if you have access to an open drywall cavity, you can install the barrier yourself.
Proper installation is key to maximizing the effectiveness of a vapor barrier. Follow these steps to ensure a successful installation:
1. Prepare the Surface
Before installing the vapor barrier, make sure the surface is clean and dry. Remove any debris, old insulation, or damaged materials to ensure a smooth and secure application.
2. Cut the Vapor Barrier
Measure and cut the vapor barrier material to fit the area you are working on. Overlap seams by at least 6 inches to prevent moisture from bypassing the barrier (which would defeat the purpose of the barrier).
3. Install the Barrier
- Walls: Start at the bottom and work your way up, attaching the vapor barrier to the wall using staples or adhesive.
- Floors: Lay the barrier across the floor, overlapping the edges and sealing seams with tape.
- Ceilings: If installing on a ceiling, ensure the barrier is tightly secured and overlaps at the seams.
4. Seal All Seams and Joints
Use appropriate tape or sealant to cover all seams, joints, and gaps. This ensures that no moisture can slip through and compromise the insulation.
5. Inspect and Test
After installation, inspect the vapor barrier to ensure it is properly sealed and free of wrinkles or gaps. Conduct a moisture test if necessary to verify that the barrier is performing as expected.
Don’t Neglect Ventilation
Even with a vapor barrier, proper ventilation is essential to prevent moisture buildup–inside and outside closed surfaces. Due to the complexity and requirements that each type of insulation requires, it is highly recommended that you hire a professional contractor to handle ventilation.
The Importance of Professional Installation with Insulation
Installing new insulation can lead to several benefits, from lower energy bills to increased comfort. However, the issues that can arise from improper installation or poor ventilation make it necessary to work with a professional team when it comes to installing insulation and vapor barriers.
If you’re noticing moisture issues or increased humidity in areas where you’ve installed new insulation, reach out to a professional immediately for help installing and ventilating the area properly.
FAQs
What is the best type of vapor barrier for residential use?
Plastic sheeting is the most common and versatile choice for residential use. It is cost-effective and provides reliable moisture protection. Foil barriers are also effective, especially in extreme climates.
Are there any downsides to using a vapor barrier?
While vapor barriers are generally effective, improper installation or choosing the wrong type can lead to issues such as trapped moisture or reduced ventilation. Ensure proper installation and choose the right material for your needs.
How do I maintain my vapor barrier?
Regular inspections are key. Check for any signs of damage, such as tears or loose seams, and repair them promptly. Ensure that the barrier remains intact and effective over time.