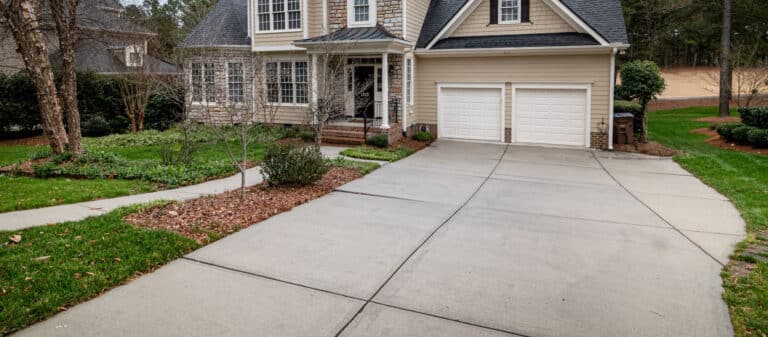
Most Northeastern Pennsylvania homeowners rarely use their garages for their cars anymore. These multifunctional spaces often double as storage units, home offices, and gyms, offering more value to homeowners and prospective buyers.
While garage insulation may not deliver the ROI of attic insulation, an uninsulated garage can significantly compromise your home’s energy efficiency.
Unfortunately, ground-level spaces can serve as vacuums for undesirable air, thwarting much of the benefits you may receive from insulating the rest of your house.
We’re happy to say that insulating a garage is an efficient DIY project and much more affordable than insulating an attic or basement if you hire a contractor.
This comprehensive garage insulation guide will walk you through the steps of insulating your garage from planning to execution and outline some benefits you can expect from completing this project.
Benefits of Insulating a Garage
While most people tend to ignore garages as extensions of their living spaces, garages can be vacuums of cold air in the winter that drives up bills and hot air in the summer that disrupts cooling comfort. Whether you have an attached of detached garage your garage can benefit from new insulation.
For homes with attached garages that are not properly air-sealed, an uninsulated garage will exacerbate the stack effect that occurs during peak seasonal months when undesirable air is sucked in from the ground level and penetrates each floor of your home before being expelled through the attic.
Insulating your garage may not seem like a top priority for many homeowners, but it offers several benefits you need to be aware of.
- Improved Comfort: Insulation helps keep desirable temperatures inside a unit, converting an unfinished garage into a warm and cozy living space.
- Energy Efficiency: By reducing heat transfer from your garage, insulation can lower energy usage across your entire home. If you’ve already invested in new insulation in other areas of your home, insulating your garage will only compound their benefits.
- Protection for Belongings: Insulation helps regulate temperature and humidity levels, protecting items from mold and degradation due to excessive moisture content.
- Sound Dampening: Insulation goes a long way in reducing noise transfer; something that’s highly desirable if you like to use your garage as a music studio.
- Increased Home Value: A well-insulated or finished garage adds value to your property, making it more attractive to potential buyers if you decide to sell in the future.
- Reduced Fuel Costs: If you do keep your car in an attached or detached garage, insulation will help your car heat up faster and make it more comfortable when you have to climb into your car during extreme temperatures.
While we tend to focus on attached garages, detached garages will derive the same benefits: increasing comfort, improving energy efficiency (if you heat your garage), and reducing moisture content.

Should I Insulate a Garage Myself or Hire a Contractor?
Deciding whether to tackle garage insulation as a DIY project or hire a professional contractor depends on various factors, including your level of expertise, time availability, and budget.
For the most part, many sections of your garage can easily be insulated using simple materials such as rigid foam board or fiberglass insulation. However, a professional will be required for higher-efficiency materials, such as closed-cell spray foam, which delivers the best R-value.
Further, finished garages with hanging drywall may require a contractor who can drill a hole in your home’s siding to install an injection foam or loose-fill insulation into the hollow wall cavity.
DIY Insulation
- Pros: Cost-effective, can be completed with simple materials.
- Cons: Requires time, effort, and knowledge of insulation techniques, may not achieve optimal results without proper experience.
Hiring a Contractor
- Pros: Saves time and effort, ensures professional installation, and guarantees quality results.
- Cons: Higher upfront cost compared to DIY, reliance on contractor availability.
Ultimately, if you need more certainty about your ability to insulate the garage effectively or lack the necessary tools and equipment, hiring a reputable contractor is the recommended choice for peace of mind and optimal performance.
Best Types of Garage Insulation
The most important part of tackling a garage insulation project is deciding what material to use.
We’ve provided a helpful guide that balances R-value vs. the cost of insulation material to help you understand what materials provide the biggest bang for your buck.
The most common insulation materials for a garage are typically:
- Fiberglass Insulation: Available in batts or rolls that you can purchase from your local hardware store, fiberglass offers great performance and is easy to handle. Depending on the thickness of your walls, you will need to find a roll or batt with your intended R-value or apply two layers to meet optimal energy performance.
- Foam Board Insulation: Polystyrene foam boards provide excellent thermal and moisture resistance for thin walls and doors. Do not use rigid foam solely for thick walls, though they can provide additional protection in tandem with fiberglass or spray foam.
- Spray Foam Insulation: Polyurethane spray foam is the gold standard of insulation, offering the highest R-value of any material (closed cell). It expands to fill gaps and cracks, providing superior air sealing and insulation and is ideal for hard-to-reach areas. However, it requires professional installation due to its specialized application process.
Once you have an insulation material picked for your garage, you can begin drafting a plan to insulate your garage during the milder months of spring or fall.
How to Insulate a Garage in 7 Steps
This step-by-step process will provide a basic plan to insulate your garage in no time,
Step 1: Clear the Garage
First, clear the walls and floor of any unnecessary clutter that may be damaged or pose a hazard during work projects. Ideally, you want enough space to haul insulation back and forth safely, cut it (if you’re using fiberglass), and install it using a ladder in higher places.
We recommend storing all clutter and garage materials in your basement, shed, or storage unit until the project is complete.
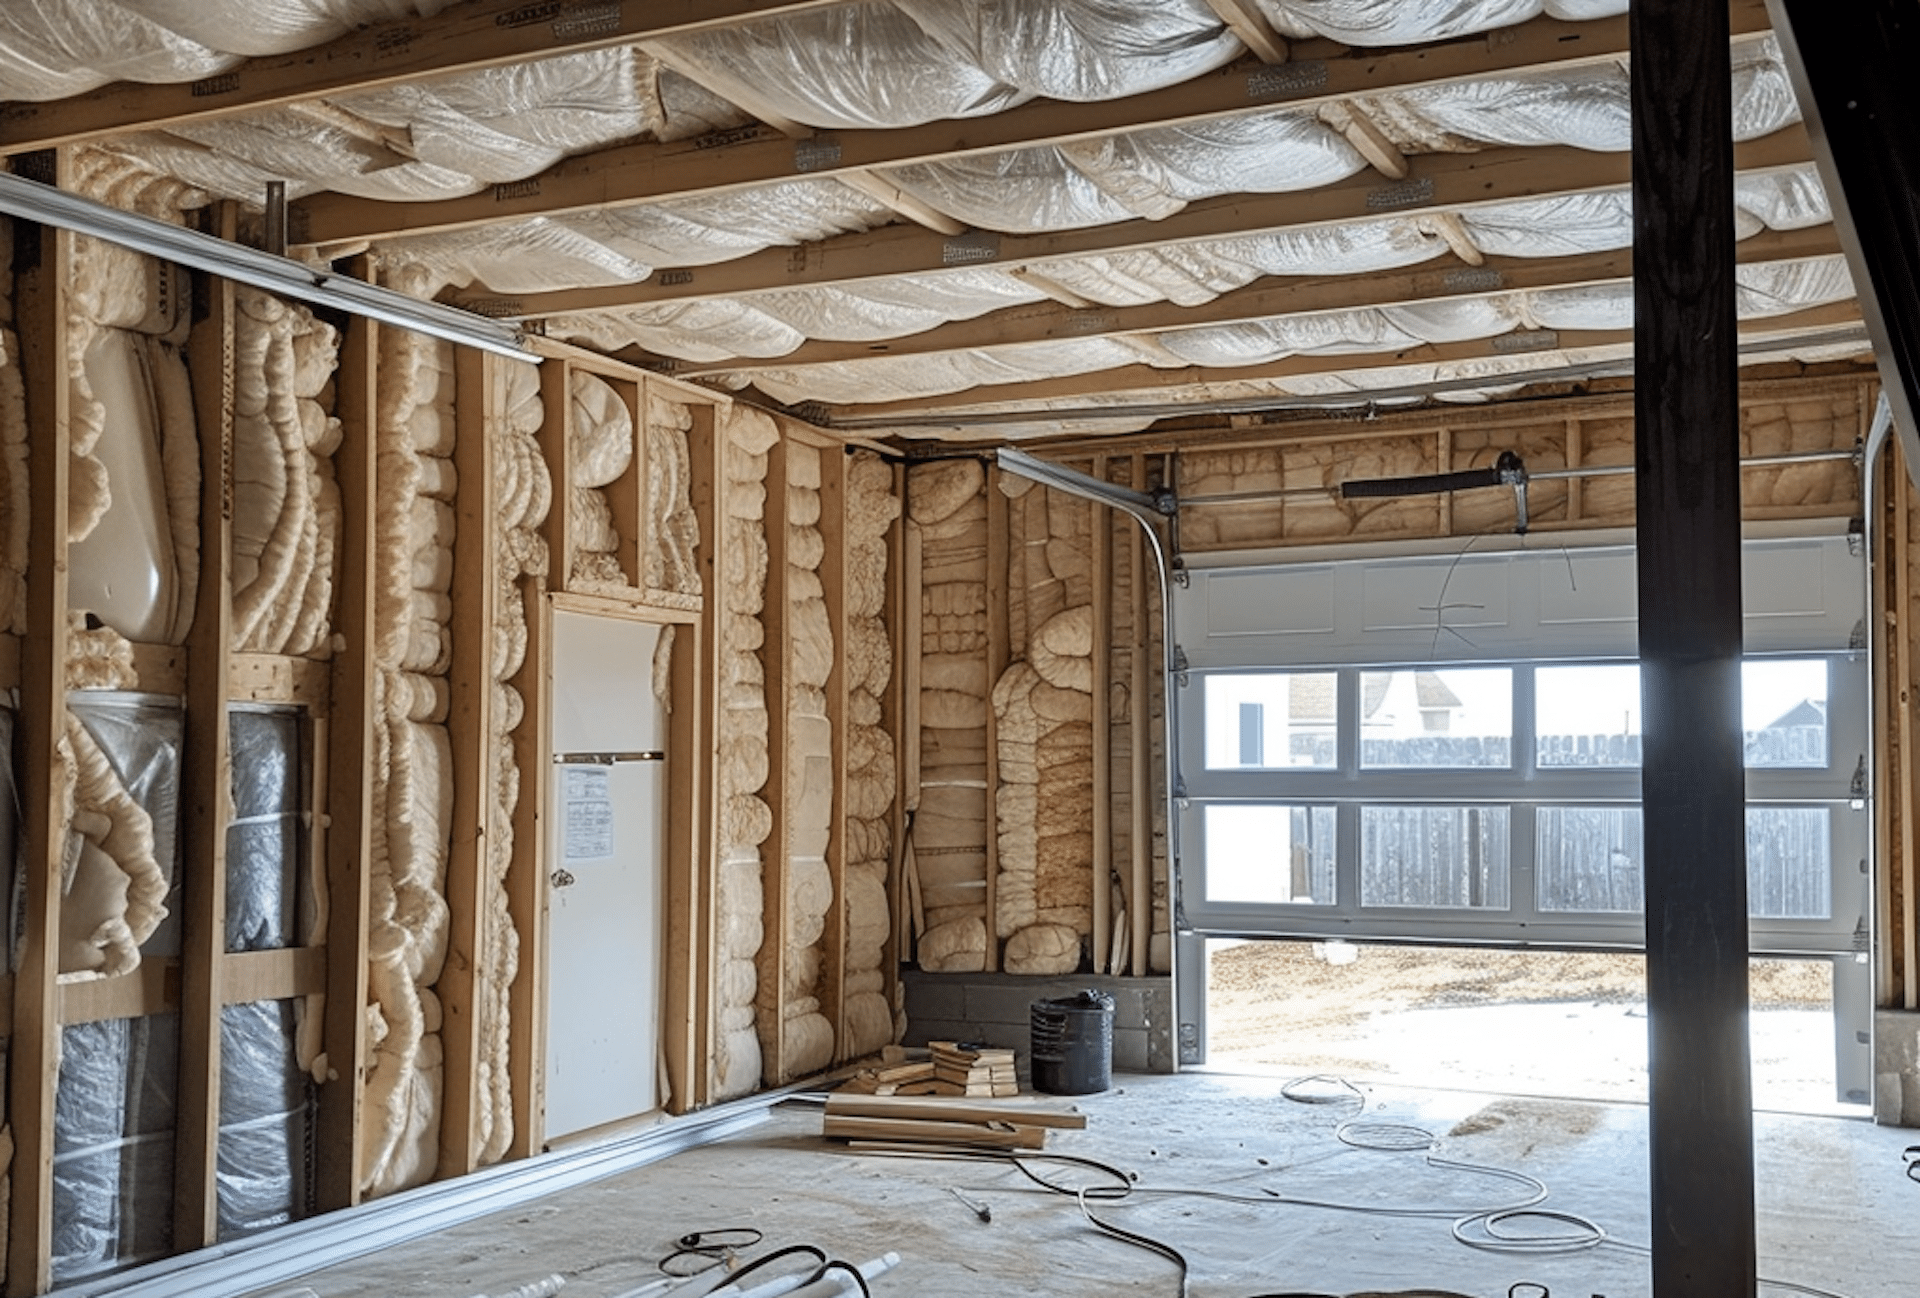
Step 2: Install Insulation in Walls
If you are installing fiberglass insulation, you’ll want to staple it to the side of the stud. Rigid foam board can be installed to the back of the frame using caulk and sealed afterward using spray foam.
If you have finished drywall already in your garage and don’t want to hang new drywall, a contractor can drive a hole in your siding or from the exterior of your garage to install an injection foam or loose-fill insulation. By most estimates, spray foam is the best insulation for walls based on performance and longevity.
Step 3: Insulate the Ceiling
Since most garage ceilings in unfinished garages are fairly exposed, you’ll be able to climb on a ladder to staple any fiberglass rolls or batts to the ceiling and rafters. A contractor will be able to install spray foam or loose-fill insulation into exposed areas using specialized machines.
Step 4: Insulate All Doors and Windows
Garage doors can be insulated using a rigid foam board and all windows should be reinforced with weatherstripping.
Likewise, electrical gaskets behind walls can also be insulated for added protection.
Step 5: Seal Air Leaks
Close the garage door and shut out all light during the day to see if there are any areas in your garage where light is peering through. This will help you find any gaps or leaks where air, bugs, and allergies can pour through your garage. Plug these holes with an expanding foam.
Step 6: Seal Up Insulation with Drywall
If you are working in an unfinished garage, you will need to seal up exposed insulation with drywall to help prevent moisture buildup and exposure to pests like rats.
Step 7: Finish and Clean Up
Trim excess insulation, reinstall garage fixtures, and tidy up the workspace to complete the insulation project.
By following these steps meticulously, you can achieve a well-insulated garage that enhances comfort and energy efficiency.
When in doubt, it always pays to hire a professional contractor to assist you on your insulation project, whether it’s installing insulation behind finished walls or sealing up any gaps or cracks you may not be able to find.
FAQs
How much does it cost to insulate a garage?
The cost of insulating a garage varies depending on factors such as the size of the garage, chosen insulation material, and whether you hire a contractor or DIY. On average, expect to spend anywhere from a few hundred to a few thousand dollars.
Can I insulate my garage if it’s attached to my house?
Yes, insulating an attached garage is essential for maintaining consistent temperatures inside the home and reducing energy costs. Pay extra attention to sealing air leaks between the garage and the house to prevent heat loss or infiltration of fumes.
Do I need a vapor barrier in my garage?
In regions with cold climates like Northeast Pennsylvania, a vapor barrier is recommended to prevent moisture buildup inside the garage walls. Install the vapor barrier on the warm side of the insulation, typically facing the garage’s interior.
Will insulating my garage help reduce noise from outside?
While insulation can help reduce noise transmission to some extent, it may not completely eliminate all external noises. Consider additional soundproofing measures such as acoustic panels or weatherstripping for garage doors to minimize noise intrusion.